
Your Treatment Journey

Emine Erdem Hair Clinic plans a personalised hair treatment journey with clear guidance at every stage. Here you can find out what happens from your first message to follow-up at home, and what you can expect from our team.

Step 1

Consultation

You share your questions, your medical history and photos of your hair with us. Before any appointment is booked, we explain which options may be suitable for you and how the assessment proceeds.

  • Send photos from four angles
  • Describe your history of hair loss
  • Ask about options, timing and travel
Step 2

Hair Analysis and Planning

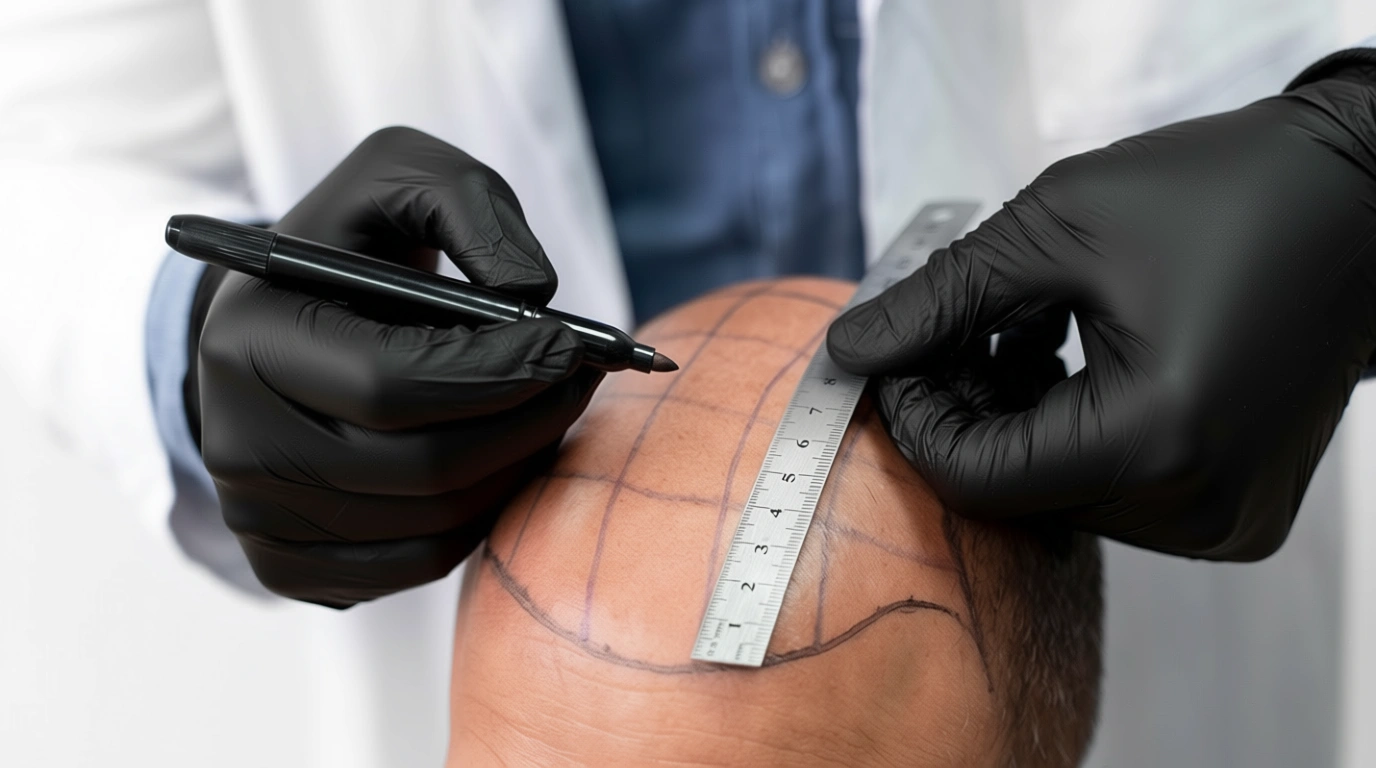
Our team reviews your photos and information to understand your pattern of hair loss and the likely capacity of your donor area. A personal plan is then discussed with you, including what can reasonably be expected and what cannot.

  • Donor area and hair characteristics
  • Areas to be treated and priorities
  • Whether supportive treatments could help
Step 3

Preparing for the Procedure

Once a date is set, we confirm your visit schedule and send you preparation instructions. For patients travelling from abroad, hotel accommodation, airport pick-up and VIP transfers can be arranged alongside the treatment.

  • Visit schedule confirmed
  • Medication and lifestyle advice
  • Travel and accommodation coordination
Step 4

Procedure and Recovery

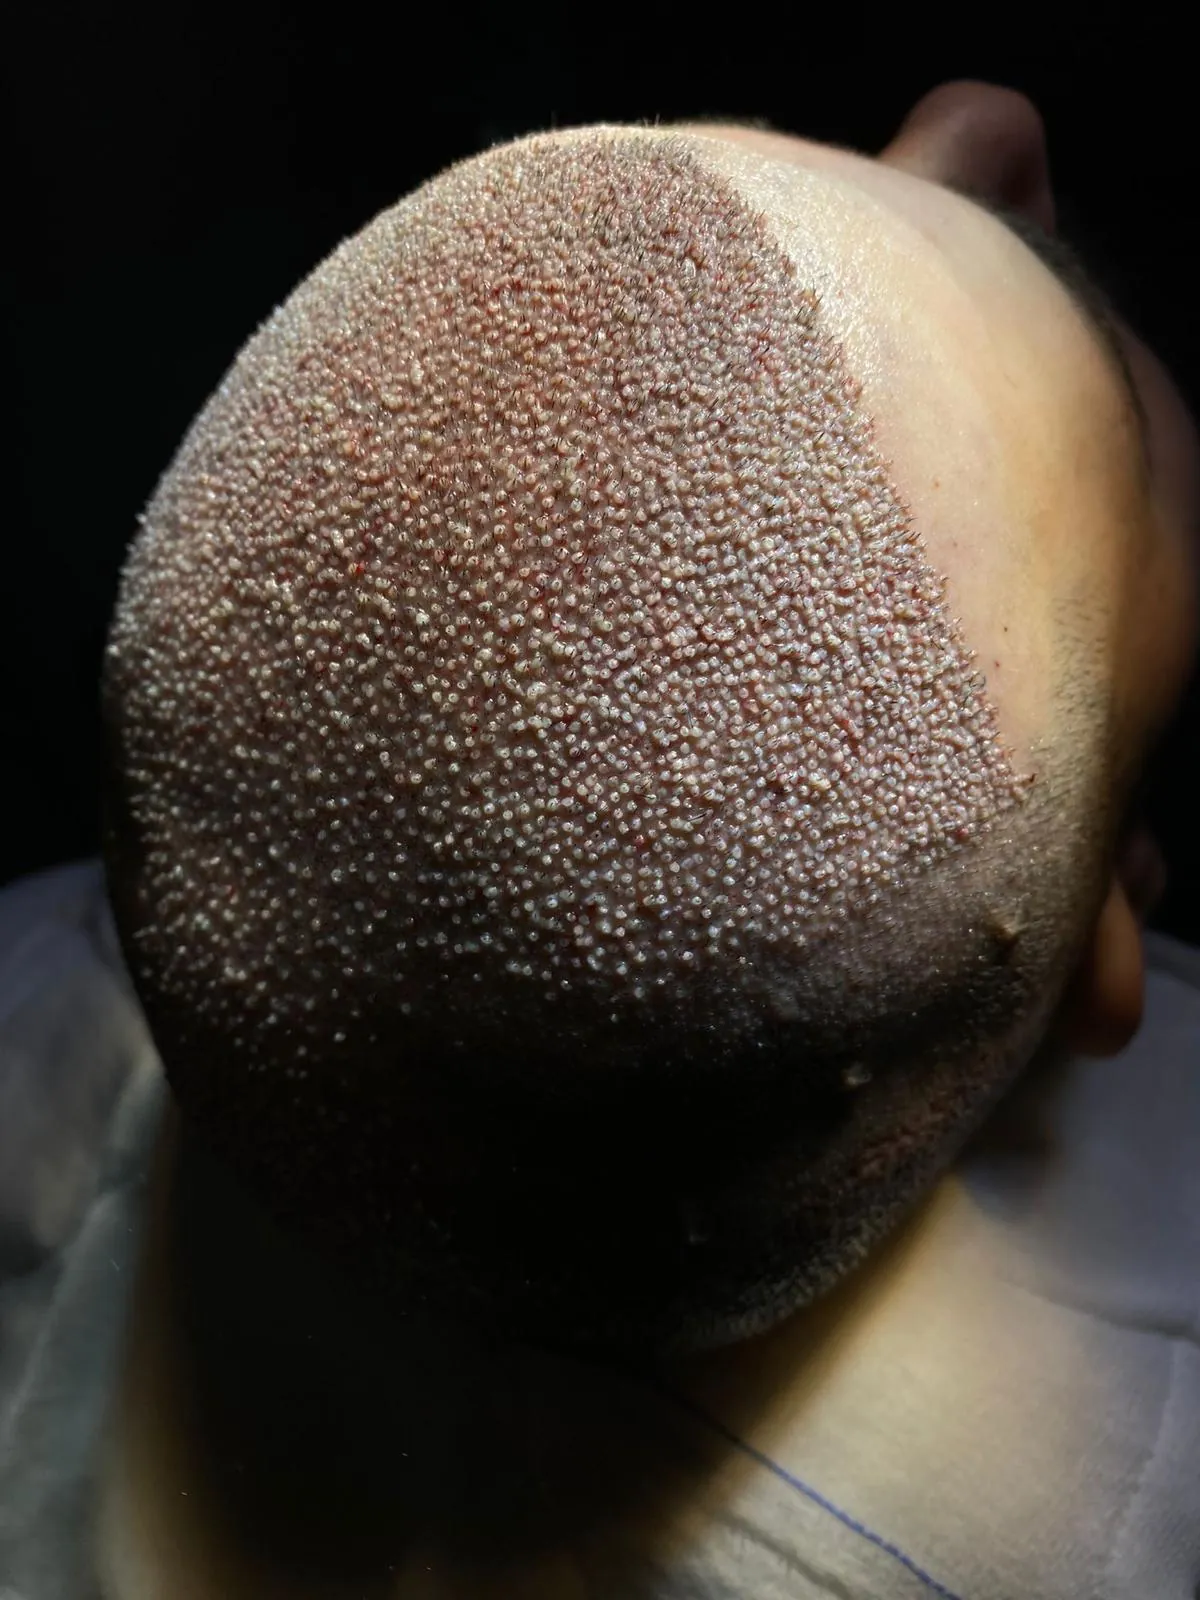
On the procedure day, our team goes through every stage with you, and the final plan is reviewed with you again before the procedure begins. Afterwards you receive written care instructions and help with obtaining the post-procedure medication specified in your plan.

  • Final plan reviewed with you
  • Procedure under local anaesthesia
  • Care instructions and medication
Step 5

Follow-up After the Procedure

Recovery and hair growth take months and vary from person to person. You can send progress photos and questions, and our team explains which changes to expect at each stage.

  • Questions during recovery are answered
  • Progress photos are reviewed
  • Stages are explained individually
Hair analysis

How to take useful hair photos

Good photos make the first assessment much more accurate. Use daylight or bright, even light, make sure your hair is dry and unstyled, and ask someone to help with the crown and back views.

Send Your Photos
  • Front Hairline, from the front
  • Crown Top of the head, from above
  • Sides Left or right profile
  • Back Donor area and crown
Recovery

The first weeks at home

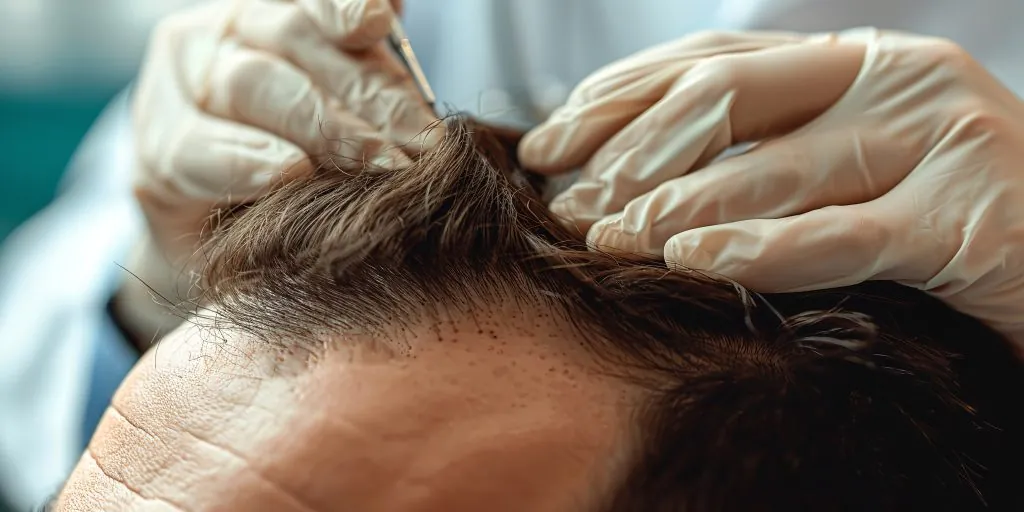
In the first days, the aim is to protect the newly implanted grafts: sleeping with your head raised, washing exactly as instructed and not touching the treated area. Most people return to desk work after about one week to ten days.

Day-by-day recovery guide
Aftercare and follow-up

Support that continues

You leave the clinic with written care instructions and help with obtaining the post-procedure medication specified in your plan. As your hair grows over the following months, our team remains available to answer your questions and review your progress photos.

How does follow-up work?
FAQ

Consultation and planning questions

All questions
  • You can send your details and photos of your hair taken from the front, both sides, the top and the back via the hair analysis form, or contact the clinic by phone, WhatsApp or email.

  • Appointment capacity is kept limited so that our team can devote enough time to personalised planning, the procedure day and follow-up support.

  • A meaningful plan depends on your hair loss, your donor area and your goals. That is why our team first reviews your photos and information; the fees and what they cover are then explained clearly.

  • If a treatment is not suitable for you, our team will explain why and may suggest alternatives or a reassessment at a later date.

Start your hair journey

Discuss your personal plan with our team

Share your goals and a few photos of your hair. Our team will review them and explain which options may be suitable for you, what you can expect and what the next steps are.